

olive tree topiary
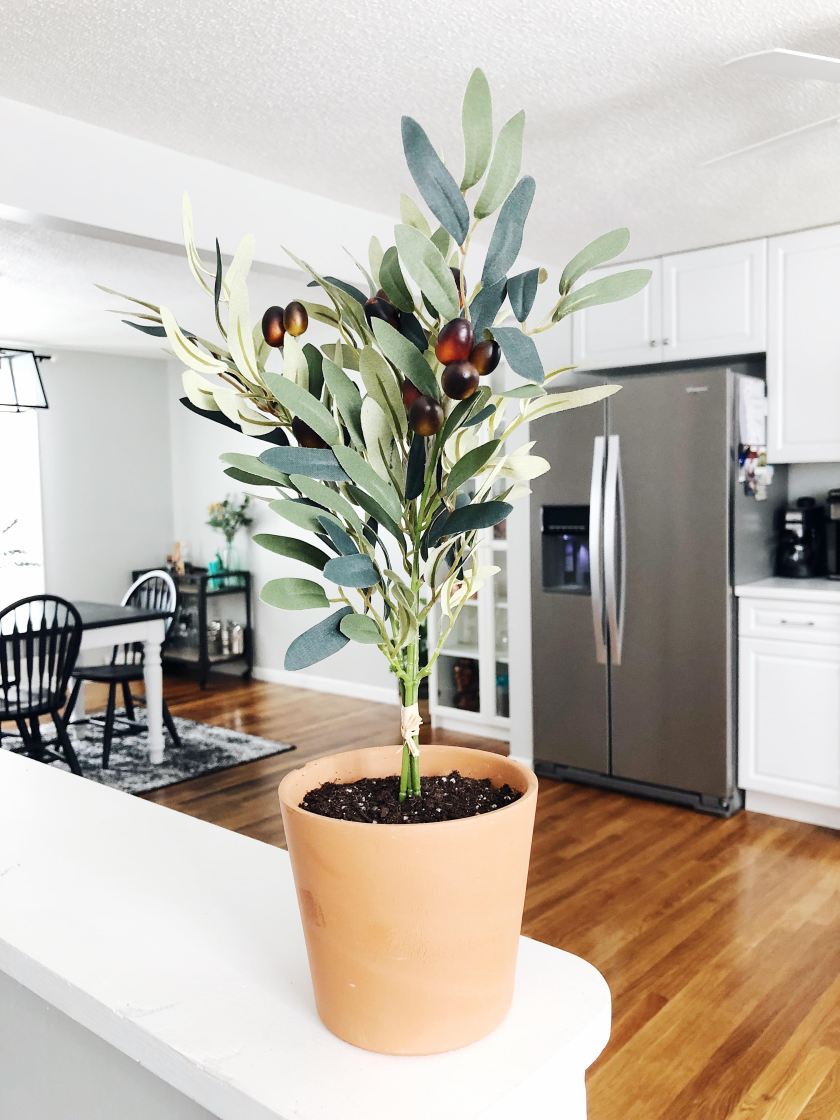
Olive tree’s are ~trendy~ right now and I’m all in. (We can ignore the fact that I STRONGLY dislike actual olives) I think my husband would be ab.so.lute.ly. thrilled if we had a real olive tree, but unfortunately for him, I don’t trust my abilities to tend to one. So what did I do? Settled for a miniature DIY olive tree topiary.
When I was in search for a perfect little olive tree, a friend pointed me towards @vintageporch’s DIY post. And oh my gosh, it was so helpful and so perfectly budget friendly! So I decided to set out to create my own.
Mine is definitely a little different from hers, it is shorter and didn’t involve any gluing or tying of any stems (AKA easier so you can be lazier). But both versions are extremely budget friendly and SO cute! So if you’re looking for a different version of this amazing olive tree topiary (how do you even say that?), make sure to check hers out here.
Here are the quick and simple steps I took to complete the tree (and I didn’t take any pictures because, well… newbie blogger here);
*All items were purchased at Hobby Lobby with the exception of potting soil*
- First, you need to pick up a few olive leaf stems from Hobby Lobby (or any other craft store!) or if you’re lucky like me – you’ll find a perfect little bunch of stems tied together for you. The one I used is linked here (olive leaf bunch) and it helps to wait until Hobby Lobby has a sale on floral & greenery stems, this baby was 50% off when I went (I got it for $5)! If you buy separate stems, you’ll just need to find a way to tether them together.
- You’ll need a piece of foam. It doesn’t matter what shape or size, as long as it’s strong enough to hold your stems. I bought one square piece and put (shoved) it into my pot. If you can find a round piece that fits perfectly, then yeah, that’s probably ideal. But not a requirement! Here’s a link to a cheap piece (they range from $1-$4) at Hobby Lobby (floral foam).
- You’ll also need a pot, and this part is up to you! The pot can fit whatever style you’re going for. I wanted to stay traditional and go with a terra cotta pot, I thought it would look nice with the olives and give it a mediterranean type feel. Why? Not sure, seeing as it doesn’t match the style of anything else in my house but hey, it is what it is. I found some small pots in the clearance section at Hobby Lobby and it was literally $2.50. I’ve linked a larger size pot, incase you’re going for a bigger size, but honestly you can find small terra cotta pots anywhere for pretty cheap. Example linked (terra cotta pot).
- Lastly, You’re going to want to cover that foam up with dirt. Yes, dirt. For your fake plant. It gives it a more authentic look. I had some potting soil in my basement, so I took a small scoop and filled the space in the terra cotta pot and then lightly covered the foam. You can use dirt from outside if you’d like, making this step ultimately free of charge. Otherwise, you can find small bags at pretty much any department store, but I’ve linked a small bag from Target for under $5 (potting soil).
I think this project cost me a total of $11. And so worth it!
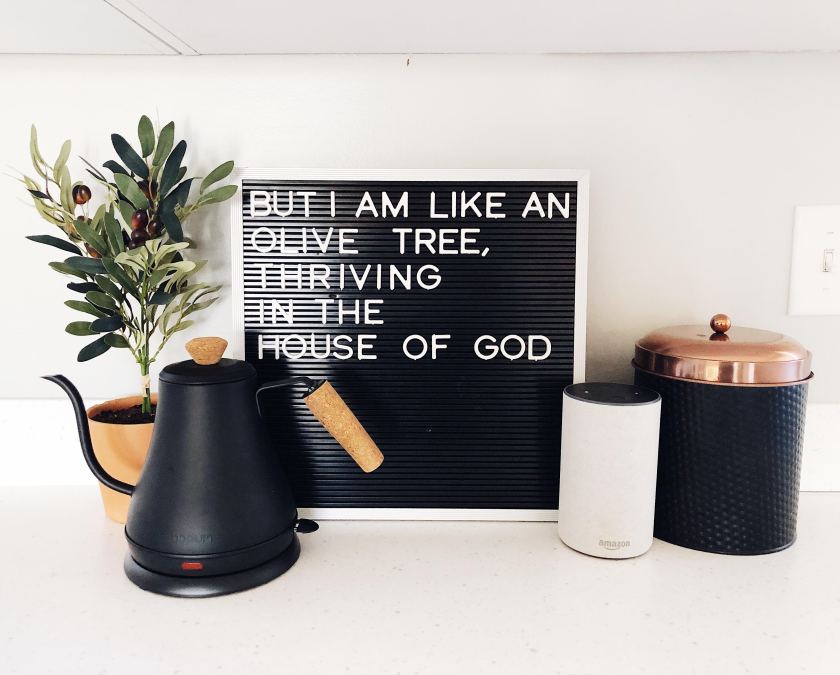
This is how I’ve styled my DIY olive tree topiary in my home – it’s on my kitchen counter! And I’m obsessed. And the easy thing about this project is that if you ever want to change your style, you can change the pot at any time! Just replace the potting soil over the top and you’ll be good to go. Making this plant versatile and ready to move into any room. Honestly, I’d like to have one in EVERY room, but that’s a bit excessive… right?
If you decide to make one of these, please let me know! Show me your pictures and how you changed it up dependent on YOUR style! Click the + below to follow me and feel free to comment with your ideas!
